Showing posts with label Sweets. Show all posts

Friday, October 4, 2013

Apple and Pear Pie with Cinnamon Crumble Topping

Have I mentioned that I like pie? No, that's not quite accurate...I LOVE pie!! By far my favorite desert, and of all the great pies out there, apple is top of the list for me. What can I say, I'm all about the classics! So you can imagine that when the local apples started to arrive that I was immediately asking my wife to bake me one. Then the other day I get home from work and the house smelled like heaven! Butter, cinnamon and apple scents floated through the air to my nose the moment walked in the door. What a fantastic (and absolutely delicious) surprise to come home to! 


In addition to the apples, we had some Asian pears laying around from a family trip to a pick your own orchard a little while back, so she combined them with the apples to add another nice flavor to the mix. Additionally, the pears remained crisper after baking, giving a nice bit of crunch to the final pie that complimented the soft apples well.

Saturday, September 7, 2013

Mint Chocolate Chip Ice Cream

So way back when I picked up my first share at the farm, there was a fresh mint plant included. I planted it in the herb garden, and while a few leaved were plucked here and there for various recipes, it has pretty much been left to its own devices since then. Much like what happens when a small child is left unattended for too long, it started to cause trouble. I went outside a few days ago to pick some herbs and could barely find the plants I needed as the mint had grown so much that its neighbors were almost completely covered! In retrospect, I do remember reading somewhere that mint can be somewhat aggressive in its growth, but I hadn't given it much thought at the time, and besides, since when is too much of an herb a bad thing? Well, live and learn! After some serious pruning, I had quite a bit of mint to use, and I knew there was only one way...


Before you get further in to this recipe, let me make sure its understood that this ice cream made with fresh mint is NOTHING like what you would typically buy in the grocery store; it is so so so much better that you may never be able to go back to store bought. When the mint is picked the same day you make the ice cream, the resulting mint flavor is wonderfully fresh and is subtle enough that you won't tire of it, but at the same time you never have a doubt that it's there. Imagine the smell when you bruise a fresh mint leaf; that is the taste you get. The other great thing about using really fresh leaves is that they will color the ice cream ever so slightly green, a effect that is almost always achieved with food coloring in store bought. Maybe its a good thing that my mint plant is growing so fast, because I'm sure that I'll be wanting to make this ice cream again as soon as this batch has been eaten!

Tuesday, September 3, 2013

Peach Pecan Upside Down Cake

This past Labor Day weekend ended up being a stay at home event for me and the family. We had some hopes of a weekend getaway, but never got our act together on planning. Regardless, the weather was pretty crummy and I was recovering from a head cold so it was probably for the best that we didn't stray from the house much. Despite these downers, my wife saw this as an opportunity to tackle a list of treats she had been looking for time to bake, and when she told me that a peach upside down cake was part of the plan, I knew that I'd be writing about it here. 


One of the great things about upside down cakes are that they make is so easy to create a beautiful looking cake without having to mess around with icing. Of course, you won't find upside down cakes highlighting a wedding, but they certainly make for a great ending to a family dinner. Personally, I'd take a slice of this over a fancy layer cake any day!

Monday, August 12, 2013

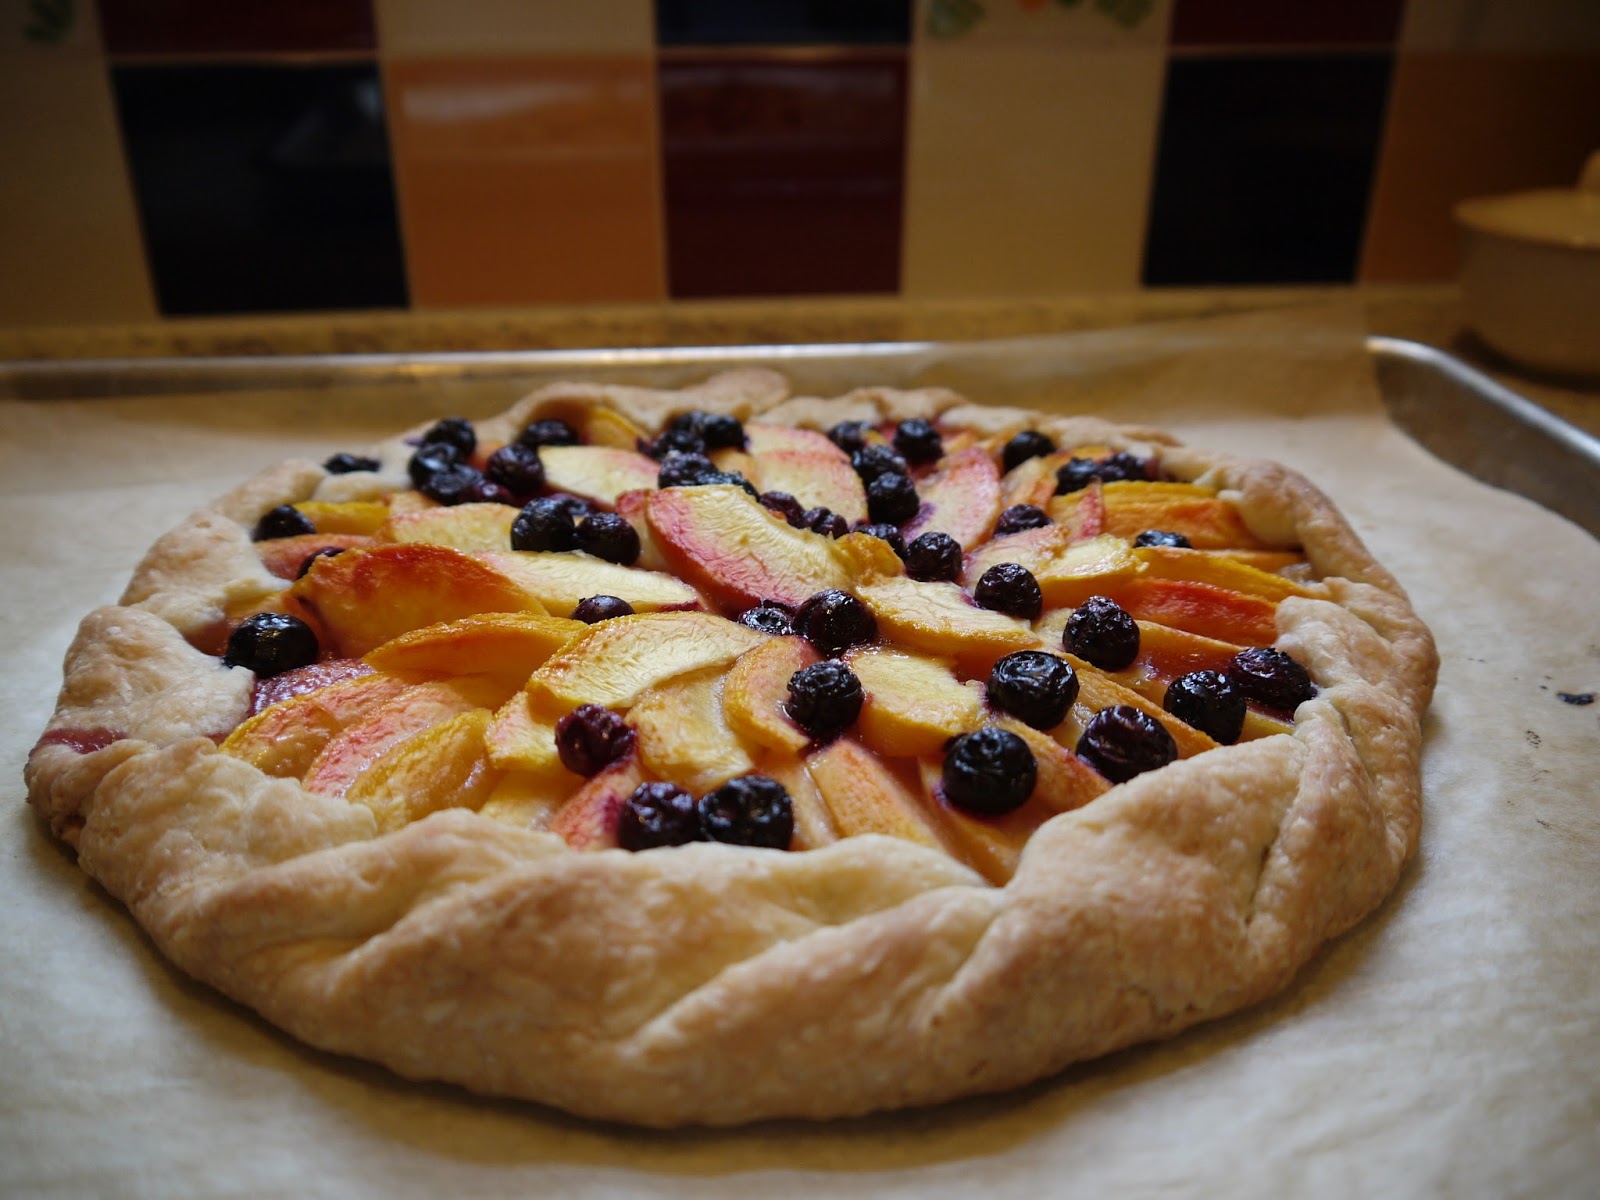
Peach and Blueberry Galette

A galette is a French term that describes a round, flat pastry that is typically rustic and somewhat free form in its design. For me, the I would translate to simply mean "easy pie". One crust, no pie plate and no fussy filling, just fresh fruit and a bit of sugar. My wife makes galettes more often than regular pies for this reason that its a lot less work and just as delicious. Galettes are great as desserts, but can just as easily be made from savory ingredients as well. Sauteed vegetables, meats, cheeses, egg or just about anything else you can think of could likely work as a galette filling, and I gurantee that this will not be the last time you see a galette on this blog. This time of year however, when the peaches are fresh and sweet, its a no-brainer to use them for the filling. All credit for this recipe and the work to make it goes to my wife. Thanks sweetie!


Share Contents Used
Peaches
Blueberries

Pie Crust
2.5 cups flour
2 tbs sugar
1 tsp salt
1 cup chilled butter, cut into 1/2 inch pieces
1/4 to 1/2 cup of ice water

Filling
6-7 peaches
2 tbs sugar
1/4 cup blueberries

Preparation
To make the crust, place the flour, sugar and salt in a food processor and mix to combine.  Add the butter and process until the mixture forms into a coarse crumb texture. With the machine running, slowly pour 1/4 cup of water into the feed tube until the dough just holds together when you pinch it between your fingers. Add more water if necessary to achieve this. Try to minimize the processing time to no more than 30 seconds if possible. Dump the dough out onto your counter and divide in half. Form each pile into a disk, wrap with plastic wrap and refrigerate for at least an hour before using. Once properly chilled, take one disk out of the fridge (freeze the other for another day) and place it on a floured work surface. Gently roll out the disk to a 12-14 inch circle. Don't worry about making it super even and neat, just as long as you have a solid base to place the filling and enough extra edge to fold over. Place the rolled out dough on a sheet pan lined with parchment paper.


To make the filling, peel the peaches then remove the pit and slice into thin segments. You should end up with at around 4 cups of peach slices. Place in a bowl and toss with the sugar, you can use more or less to your taste based on the sweetness of the peaches.


Leaving around a 2 inch edge, arrange the peach slices on the crust, overlapping them in a circular pattern until the it is filled to the middle. Alternately, if this look isn't important to you, just dump the slices in the middle and spread them out evenly, leaving 2 inches of dough around the edge. Fold the edge up and over the filling, working your way around and folding the crust over itself until it looks something like you see above. Keep in mind that this is suppose to be a rough, rustic look so don't make yourself crazy trying to make it even. Just be sure that the entire edge is covered to prevent leaks during baking. Finally, scatter the blueberries over top of the filling. Bake in a 425 degree oven for about 40 minutes, or until the crust is golden brown and the filling is bubbling. Let cool completely before serving.

Wednesday, August 7, 2013

Sweet Corn Ice Cream

When I was a kid, sweet summer corn was always such a treat because it tasted like dessert and yet there it was on my dinner plate! To this day, I look forward to the few weeks each year when its REALLY good and eat it as often as I can. I see that same enjoyment from my daughter as well when we give her a piece of an ear to chew on (once we finally convinced her to try it that is...). So if we already feel like we're eating dessert, why not make it official? And since fresh corn can be as good cold as warm, why not try to make ice cream with it? Lucky for me, a food writer for the New York Times had the same idea and provided a great looking recipe that you see here. The only difference is that I skipped the sauce and instead used some raspberry puree we had left from another project.


Share Contents Used
Sweet Corn

Ingredients
4 ears as fresh as you can get sweet corn
1 1/2 cups milk
2 cups heavy cream
1 cup plus 1 tablespoon sugar
6 large egg yolks
1/4 teaspoon salt
1/4 cup sour cream

Preparation
Shuck the corn then slice the kernels off the cobs and place them in a large saucepan along with the milk, cream and 1/2 cup of the sugar. Put the cobs in the pan as well (breaking in half if you need to). Bring the mixture to a boil, then remove from heat, cover and let stand for 1 hour to allow the corn flavor to infuse into the milk. When the hour is up, discard corn cobs. Using an immersion or regular blender, purée the corn kernel and milk mixture then return mixture to a simmer for 1 minute and turn off heat.


In a small bowl, whisk the egg yolks together with 1/8 teaspoon of the salt and 1/4 cup of the sugar. Add a cup of hot cream mixture to the yolks, stirring constantly to prevent them from curdling, then add the yolk mixture back into the pan, stirring well to fully combine. Cook the mixture over medium-low heat, stirring constantly, until the custard thickens enough to coat the back of a spoon, 4-5 minutes. Do not let it boil.


Strain the custard through a fine mesh strainer, pressing down on the solids to extract as much of the custard as possible. Discard the solids. Whisk the sour cream into the custard until smooth then place the bowl with the custard into a larger bowl filled with ice water and let the custard cool, stirring occasionally. Be careful not to get any ice water in the custard. Once cooled, remove the custard bowl from the ice bath, cover and chill in the refrigerator for at least 1 hour.


When the custard is full chilled, pour into an ice cream maker and freeze according to manufacturer’s directions. Transfer to a freezer-proof container and freeze for 3-4 hours before serving. The raspberry puree is simply frozen raspberries that have been thawed and briefly pureed in a food processor with a bit of sugar added to taste.


Full disclosure time here: I did not like this ice cream, and neither has anyone else I've tested it on. I'm confident that I made it right because it tastes very much like sweet corn and has a nice smooth texture one expects with ice cream. In the end, the corn flavor just didn't work in an ice cream for me. Even though there is plenty of sweetness, this really is a savory ice cream, which I guess is a bit more Iron Chef than I was expecting. I imagine there are lots of people out there that would like it, and I am not saying this to discourage you from giving this a try, but I wanted to be honest with you all. I guess for now the sweet corn in our house will stay on the dinner plate. 

Monday, July 29, 2013

Zucchini Banana Bread

For all my talk on this blog about being creative and trying new ingredients, I am a creature of habit when it comes to breakfast. Most of the time, my breakfast will be either Greek yogurt or oatmeal. The Greek yogurt will be plain, topped with fresh fruit (typically berries) a bit of honey and some granola. The oatmeal will be steel cut, cooked in milk and then flavored with brown sugar or maple syrup and topped with fresh and/or dried fruit and nuts. Every so often there will be a deviation with pancakes, eggs and toast, a bagel, or maybe (when I can get it) something a bit sweeter, but overall I am fully committed to my yogurt and oatmeal routine.


Banana bread, however can very easily tempt me off the beaten path. The aroma of it fresh from the oven brings back childhood memories of the loaves my mom would bake, and there was nothing better than cutting a thick piece as soon as it was cooled just enough to touch and immediately covering it with butter that would melt into the steaming slice. So good, so perfect...


Lucky for me, over ripe bananas are fairly common in out house, and my wife will quickly turn them into loaves of banana bread that we can easily freeze to be ready to reheat when the craving calls. After my daughter was born, the quest to get more vegetables into her lead my wife to combine a banana bread and zucchini bread recipe into one. This does very little to change the taste, so the little one will gobble them down happily and be none the wiser to the hidden veggies. That is, if I leave her any!


Share Contents Used:
Zucchini

Ingredients
2 2/3 cup all purpose flour
1 tsp baking soda
1 tsp baking powder
1 tsp salt
1 tsp ground cinnamon
1 tsp ground ginger
1/2 tsp nutmeg
2 large eggs
2/3 cup sugar
1/4 cup vegetable oil
1/4 cup apple sauce
1 very ripe banana, mashed
1 large zucchini, washed and shredded
2 tsp vanilla
1 cup plain yogurt

Preparation
Preheat your oven to 350 degrees. This recipe will yield one 9x5 loaf or 4 mini loafs (shown). Coat the inside of the loaf pan(s) with butter and then sprinkle with flour, set aside.


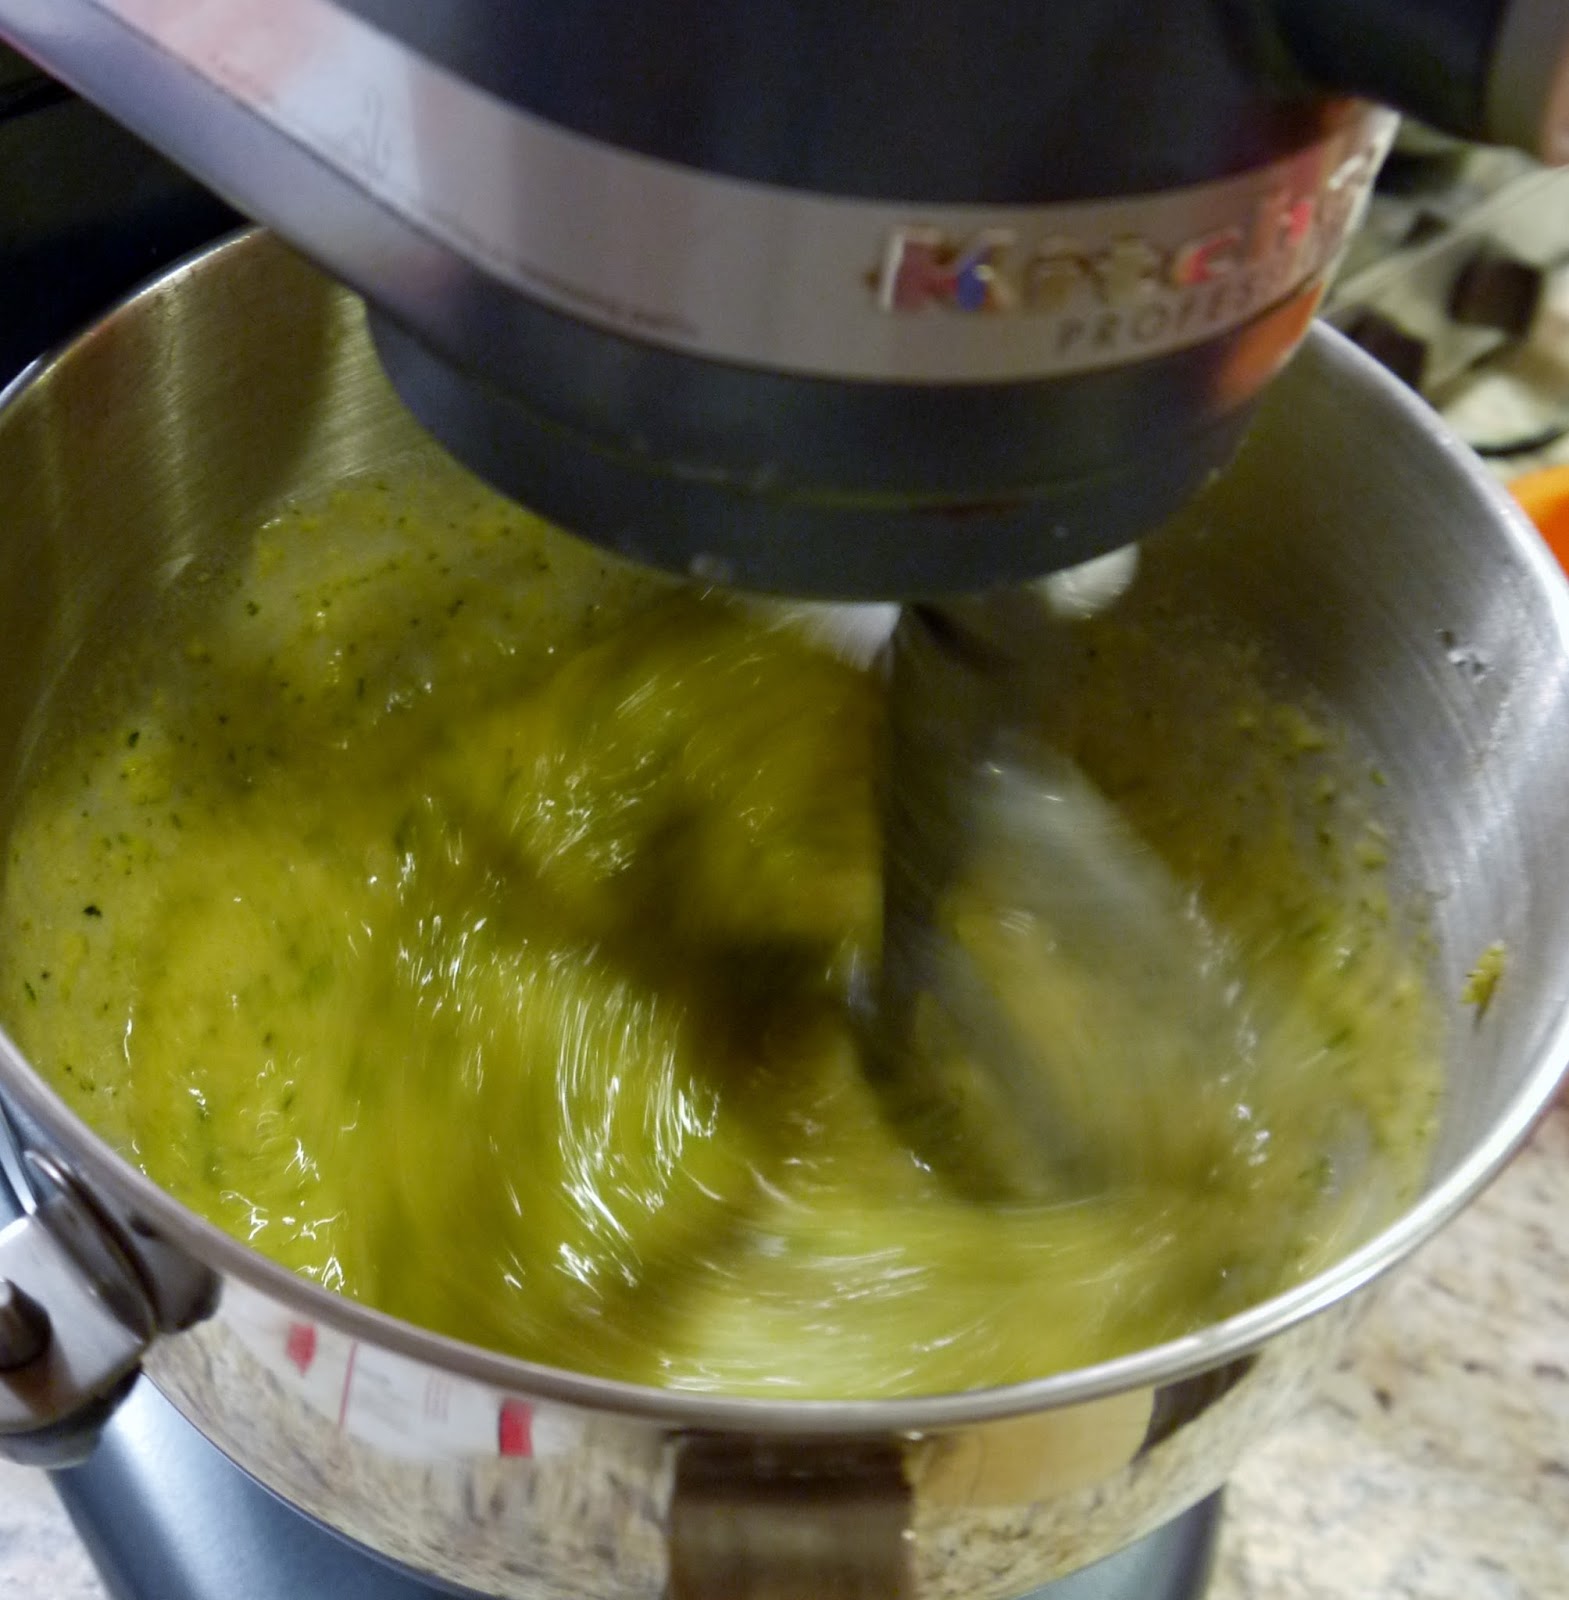
Place the flour, baking soda and powder, salt and all the spices in a mesh strainer and shake into a large bowl to sift out any clumps. Using the fine side of a box grater, shred the zucchini then place onto a clean tea towel, roll up and wring to squeeze out as much water as you can. Place the zucchini in a clean bowl and mix together with the mashed banana and apple sauce. In the bowl of a stand mixer, beat together the eggs, oil and sugar until combined, then add the banana/zucchini mixture and continue to mix on low while you add the dry ingredients, turning off the mixer when everything is just combined. Remove from the mixer and stir in the yogurt.


Pour the batter into your prepared loaf pan(s) and bake for 1 hour for the 9x5 pan or 25-30 min for mini loaf. Test by sticking a toothpick into the center of the loaf, it's done when the toothpick comes out clean. Let the pan cool for a few minutes and then while wearing oven mitts, carefully remove the loaf from the pan (turning the pan upside down and giving it a light shake will usually do the trick) and place on a cooling rack to finish cooling.  


Friday, July 5, 2013

Blueberry Pie

I've been waiting to write this post from the day I joined the CSA program. I knew that come July the blueberries would start showing up and all would be right with the world. Blueberries are by far my favorite berry, and in our house we eat at least a pint a week, even when it means spending $5 for a half pint of berries that came from Chile. Yes, I admit with some shame that my desire for these little blue jewels trumps even my goal of eating locally grown seasonal food. Summer in New Jersey is when I can eat as many as I want with no guilt and no (or at least less) pain on my wallet.


The majority of the blueberries that enter our house end up sprinkled over yogurt, ice cream or in a salad, or just eaten by themselves. However, my favorite way of eating them is in a pie, and I know you all are with me here, I mean what fan of blueberries doesn't appreciate a good pie?  For me, pie is more than something I merely appreciate, its closer to an obsession.  Just ask my wife, pies are pretty much the only thing she bakes that I won't let leave the house.  I get very selfish and will happily work my way through a whole pie by myself over the course of a week, for pies are (in my opinion) one of the only pastries that will improve as it ages.


The recipe she uses is great because it has minimal sugar, which allows the blueberry flavor to shine through.  It's the berries, be they sweet or tart that will dictate the final flavor of the pie. She also skips the lattice top (and the headache that comes with building it) and simply cuts shapes from a piece of pie dough and scatters them on the top.  Stars for this one in the spirit of Independence Day.

Share Contents Used:
Blueberries

Pie Crust
2.5 cups flour
2 tbs sugar
1 tsp salt
1 cup chilled butter, cut into 1/2 inch pieces
1/4 to 1/2 cup of ice water


Place the flour, sugar and salt in a food processor and mix to combine.  Add the butter and process until the mixture forms into a coarse crumb texture. With the machine running, slowly pour 1/4 cup of water into the feed tube until the dough just holds together when you pinch it between your fingers. Add more water if necessary to achieve this.  Try to minimize the processing time to no more than 30 seconds if possible. Dump the dough out onto your counter and divide in half.  Form each pile into a disk, wrap with plastic wrap and refrigerate for at least an hour before using to ensure that the butter is cold. Once properly chilled, take one disk out of the fridge and place it on a floured work surface.  Gently roll out the disk to a 12 inch circle.  Transfer the dough to a 9 inch pie plate and form to the shape of the plate, trimming or crimping the outer edges as desired to remove any overhang.  Place the pie plate back in the refrigerator to keep cold until you are ready to fill it. Meanwhile, take the second disk of dough and roll out as instructed above.  Using a star shaped (or whatever shape you'd like to use) cookie cutter and cut out as many stars as you can.  Place the start on a cookie sheet lined with parchment paper and place back in the refrigerator to chill.

Pie Filling
4 cups fresh blueberries
1/4 cup sugar
2 tbs cornstarch
2 tbs fresh lemon juice
1 tbs lemon zest

Preheat your oven to 400 degrees.  In a large bowl, mix together the sugar, cornstarch, lemon juice and zest.  Thoroughly wash the blueberries and pick through them to remove any stems or leaves. Drain well and then place in the bowl with the sugar mixture and gently mix until all the berries are coated.  Remove the chilled pie dough in the pie place from the refrigerator and pour the berries and any accumulated liquid into the shell. Brush the edges of the crust with egg wash (made from 1 egg mixed with 1 tbs of cream) and then do the same to the stars.  Arrange the stars on the top of the pie filling and then place the pie in the heated oven (if the pie filling is right near the top edge, you may want to place the pie place on a sheet pan to catch any filling that bubbles out while baking) and bake for 20 minutes. reduce the oven temperature to 350 and continue baking for 35-45 minuted more until the crust is deep golden brown and the filling is bubbling. Allow the pie to cool for at least 2 hours before serving so the filling has time to set up.

Serve by itself, with a scoop of vanilla ice cream or a dollop of whipped cream.  Any leftovers can be stored covered at room temperature for a day or two.  Longer and you should put it in the refrigerator, or better yet give me a call and I'll take care of them for you!  Happy Independence Day!


Saturday, June 22, 2013

Strawberry Ice Cream

This season has been a great one for Strawberries.  Our CSA farm is reporting record crops, so the berries keep on coming.  Having an abundance of fresh strawberries is by no means a problem, but at the same time, they don't stay fresh that long and we have to find ways to use larger quantities at once to make sure none are wasted.


Buried in storage among the other kitchen gadgets that we never use is our ice cream machine.  It's really a shame that we don't use this more, but with so many good choices in ice cream at the grocery store, the effort to make our own hasn't really been worth it in the past.  Nevertheless, ice cream is a good way to use up a bunch of the berries at once, and also is great for when some of the fruits are a bit passed their prime. In fact, the riper the better!

One of the main challenges we've had in the past when making ice cream is that the result ends up very hard to scoop and tastes icy.  Basically more of a milk popsicle than a ice cream.  Many popular brands use (in addition to the basic milk, cream, sugar, and flavoring) other ingredients to keep the ice cream soft, but these are usually not easily available to the home cook and most of them are chemicals that you would not want to eat anyway.


One of the easiest ways to get a softer result is to not skimp on the sugar.  The higher the sugar concentration, the lower the freezing point, so if a recipe of yours is coming out too hard, try adding a bit more sugar next time.  Every batch is different, especially with added fruit, so its going to be a bit of a guessing game.  Another way to lower the freezing point is to add a little alcohol to the mix.  A high proof liquor like vodka is a good choice because it will not add any unwanted flavor, though you can certainly experiment with flavored liquors that compliment the ice cream's flavor as well.  Don't worry about this technique turning desert into an adults only experience.  You only need a tablespoon or two per quart of ice cream, and you will not taste the alcohol at all.  If all else fails, just let the ice cream soften a bit on the counter before scooping.


Here's the recipe for our homemade strawberry ice cream.  It makes 1 quart. The result was very good, though just a bit harder than I would have liked, probably due to not quite enough sugar, but 10 minutes on the counter softened it enough to make scooping easier.  The flavor was spot on with lots of fresh strawberry and not too sweet.  A prefect treat for the season!

Share contents used:
Strawberries

Ingredients:
4 egg yolks
150 grams sugar (split 50g/50g/50g)
250 ml whole milk
250 ml heavy cream
1 1/2 cup fresh strawberries, chopped

Preparation:
In a bowl, whisk together the egg yolks and 50 grams sugar until the mix thickens slightly and turns pale yellow in color.  Set aside.  In a second bowl, mix the strawberries and 50 grams of sugar. Set aside. In a medium pot, bring the milk and 50 grams sugar to a boil.  Turn off the heat and then gradually pour the egg mixture into the hot milk, whisking constantly.  Return the pot to the heat and continue stirring until the custard has thickened enough so when you coat the back a spoon with it and draw your finger across, a clear line is formed and holds (do not let it boil).  Remove from the heat and pour the custard through a fine strainer into a clean bowl.  Place the bowl in a ice bath to cool the custard.  When cool, mix in the heavy cream. Place the completed mixture in the refrigerator and chill for at least an hour until cold.  Pour the cold custard into your ice cream machine.  Add the strawberries and any accumulated juice.  Process per the machine's directions, then transfer the ice cream to a container and freeze for at least 3 hours before serving.

Sunday, June 16, 2013

Strawberry Scones

I have mixed emotions about pick-your-own farms.  On the one hand, it can be a nice way to entertain the kids for an afternoon while you get to enjoy the outdoors as well as some as-fresh-as-it-gets produce.  On the other hand, you are paying for the privilege of providing the farm with free labor to harvest their fields.  Yesterday, my former opinion won out and the family and I spent the afternoon at a strawberry picking festival at the same farm where we have our CSA membership.  Happily, the farm provided many options in addition to picking, with a petting zoo, bouncy house, pony rides and other kid friendly activities to keep my daughter occupied.  Ever better, for the adults there was a wine tasting hosted by one of New Jersey's wineries, and while the wine was not that good (other than a semi-decent riesling) it provided a nice oasis of civility in what was otherwise a giant mosh pit of strawberry scented children. Even though we never made it out into the picking fields, we still brought home more strawberries to add to those from this week's share.


Its always a treat to wake up to fresh baked....well, anything! My wife is a early riser and will occasionally slip downstairs and have the house smelling fantastic by the time the rest of us wake up.  As a father's day surprise, she wasted no time digging into the pile of strawberries and put together a batch of scones for breakfast. The recipe here my wife learned during her time at the French Culinary Institute (which is why everything is measured by weight).

Share contents used:
Strawberries

Ingredients
325 grams bread flour
20 grams baking powder
45 grams sugar
Pinch of salt
110 grams unsalted butter, cut into cubes, chilled
100 grams fresh strawberries, chopped
1 whole egg plus one egg yolk
100 ml heavy cream

Preparation
Heat your oven to 350 degrees.

Mix together the flour, baking powder, sugar and salt in a large bowl.  Add the butter and cut it into the dry ingredients until its about the size of dry lentils.  Mix in the 90 grams of the strawberries.

In a large measuring cup, combine the whole egg and yolk.  Place the cream in a blender with remaining 10 grams of strawberries and puree until combined.  Add the strawberry cream to the eggs and lightly beat the mixture until combined. Add the liquid to the bowl with the dry ingredients and mix until the dough just comes together.  Do not over mix.

Roll out the dough on a lightly floured counter top to a thickness of around 3/4 inches. Cut into triangles (or whatever your desired shape) and place on a parchment paper lined sheet pan.  Brush the scones with a little cream and lightly sprinkle with sugar.  Bake for 10-15 minutes until lightly browned on the bottom and edges.

Happy Father's day to me!


Sunday, June 2, 2013

Strawberry Strawberry Cheesecake

No, that's not a typo in the title.  This fantastic cheesecake has strawberries in the cake as well as on it.  The recipe was provided by Bon Appetit, and the labor by my wife.  Thanks sweetie!

Here is a link to the recipe. The sugar was reduced by a quarter cup and the taste did not suffer one bit.

Share contents used:
All the strawberries that escaped my daughter's stomach.