Wednesday, July 31, 2013

Pattypan Squash and Chicken Saute

Okay, I promise that this will be the last squash recipe for a while, but I felt I had to share this one because it was the brainchild of my mother, who has been visiting for the last week. Much of the foundation of my cooking came from watching and helping her in the kitchen when I was younger, and to this day its always a treat when I can enjoy a meal she makes, (she lives in North Carolina, so unfortunately these opportunities don't come up often), I mean, what could be better then some of mom's home cooking! Maybe mom doing the dishes as well...HA! Seriously though, handling the cleanup was the least I could do after this deliciously light, yet filling meal. The feta really completes this dish with its sharp, salty flavor giving a great contrast to the more mellow tones of the squash and chicken. Thanks mom!


Share Contents Used
Pattypan squash
Fresh basil

Ingredients
1 tbs olive oil
2 chicken breasts, skin removed, cut in to 1 inch pieces
4 cups pattypan squash (or other summer squash), cut in to 1 inch pieces
2 cups leeks, white and light green part, sliced thin
1 tbs chopped basil
3 tbs white wine
Salt and pepper
Crumbled feta cheese

Preparation
Heat the olive oil in a large skillet over medium high heat. When hot, season the chicken with salt and pepper and add to the pan. Saute until the chicken is just cooked though and nicely browned, about 5-6 minutes, then remove to a plate and set aside. Return the skillet to the heat and add the leeks plus a little more oil if the pan seems dry. Saute for around 5 minutes until the leeks start to soften then add the cut up squash, season with salt and pepper and toss to coat. Cook, stirring occasionally until the squash is slightly browned in spots and cooked through, around another 5 minutes. With about a minute left, return the chicken to the pan then add the basil and wine and continue to cook until the wine is mostly evaporated and everything is nicely combined. Serve immediately with the crumbled feta on the side for people to sprinkle on top.



Monday, July 29, 2013

Zucchini Banana Bread

For all my talk on this blog about being creative and trying new ingredients, I am a creature of habit when it comes to breakfast. Most of the time, my breakfast will be either Greek yogurt or oatmeal. The Greek yogurt will be plain, topped with fresh fruit (typically berries) a bit of honey and some granola. The oatmeal will be steel cut, cooked in milk and then flavored with brown sugar or maple syrup and topped with fresh and/or dried fruit and nuts. Every so often there will be a deviation with pancakes, eggs and toast, a bagel, or maybe (when I can get it) something a bit sweeter, but overall I am fully committed to my yogurt and oatmeal routine.


Banana bread, however can very easily tempt me off the beaten path. The aroma of it fresh from the oven brings back childhood memories of the loaves my mom would bake, and there was nothing better than cutting a thick piece as soon as it was cooled just enough to touch and immediately covering it with butter that would melt into the steaming slice. So good, so perfect...


Lucky for me, over ripe bananas are fairly common in out house, and my wife will quickly turn them into loaves of banana bread that we can easily freeze to be ready to reheat when the craving calls. After my daughter was born, the quest to get more vegetables into her lead my wife to combine a banana bread and zucchini bread recipe into one. This does very little to change the taste, so the little one will gobble them down happily and be none the wiser to the hidden veggies. That is, if I leave her any!


Share Contents Used:
Zucchini

Ingredients
2 2/3 cup all purpose flour
1 tsp baking soda
1 tsp baking powder
1 tsp salt
1 tsp ground cinnamon
1 tsp ground ginger
1/2 tsp nutmeg
2 large eggs
2/3 cup sugar
1/4 cup vegetable oil
1/4 cup apple sauce
1 very ripe banana, mashed
1 large zucchini, washed and shredded
2 tsp vanilla
1 cup plain yogurt

Preparation
Preheat your oven to 350 degrees. This recipe will yield one 9x5 loaf or 4 mini loafs (shown). Coat the inside of the loaf pan(s) with butter and then sprinkle with flour, set aside.


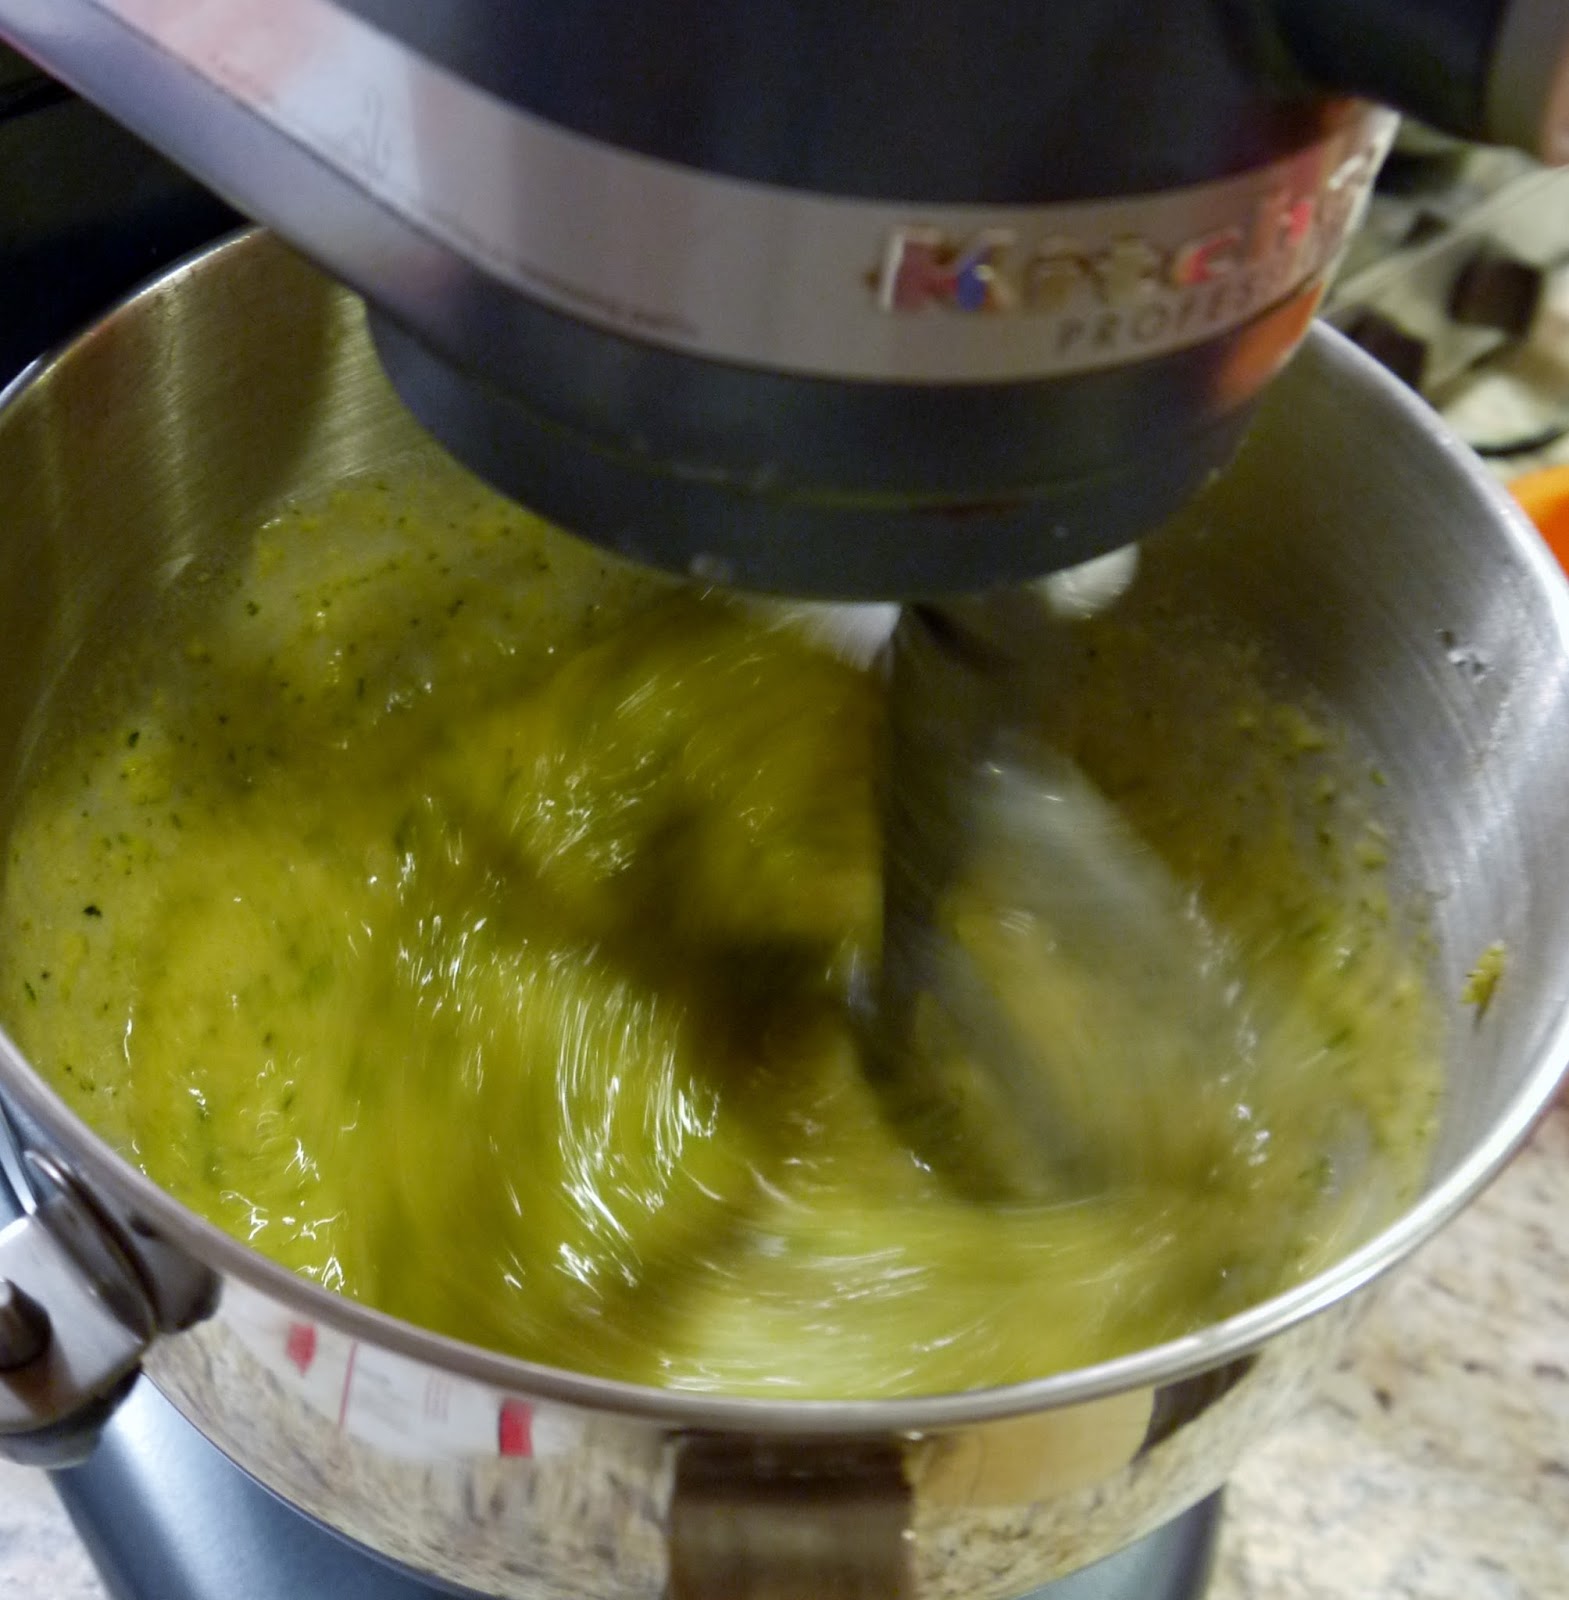
Place the flour, baking soda and powder, salt and all the spices in a mesh strainer and shake into a large bowl to sift out any clumps. Using the fine side of a box grater, shred the zucchini then place onto a clean tea towel, roll up and wring to squeeze out as much water as you can. Place the zucchini in a clean bowl and mix together with the mashed banana and apple sauce. In the bowl of a stand mixer, beat together the eggs, oil and sugar until combined, then add the banana/zucchini mixture and continue to mix on low while you add the dry ingredients, turning off the mixer when everything is just combined. Remove from the mixer and stir in the yogurt.


Pour the batter into your prepared loaf pan(s) and bake for 1 hour for the 9x5 pan or 25-30 min for mini loaf. Test by sticking a toothpick into the center of the loaf, it's done when the toothpick comes out clean. Let the pan cool for a few minutes and then while wearing oven mitts, carefully remove the loaf from the pan (turning the pan upside down and giving it a light shake will usually do the trick) and place on a cooling rack to finish cooling.  


Friday, July 26, 2013

Vegetable Stuffed Zucchini

Prior to being overrun with various summer squashes from my CSA, I had thought of stuffed squash as a winter dish when the acorn, butternut and other winter varieties are plentiful and your choice of fresh local produce is severely limited. Its not just the squash, but the fillings as well with combinations of breads, sausage, dried fruit and other hearty flavors that one associates with cooler weather. However, with 2 pounds of week 11 zucchini still in the fridge when another 3 pounds of yellow squashes arrived with week 12, I was going to have to get past my seasonal preconceptions. 


Since I'm using a summer squash, it only makes sense to fill it with other summer ingredients, and the recipe I found not only accomplishes that, it does it with several other items I have from recent shares! The combination of sweet corn with spicy jalapeno is fantastic and black beans add a slightly meaty texture that really ties everything together. All the colors in this dish really shout summer as well, the bright greens, red and yellow along with a earthy brown from the beans truly make this dish as pleasing to the eye as to the taste buds!

Stuffed Zucchini, adapted from Spark Recipes

Share contents used
Zucchini
Jalapeno pepper
Onion
Corn


Ingredients
2 medium sized zucchini
1 tsp olive oil
1 fresh jalapeno pepper, seeded and finely chopped
1/4 cup chopped onion
2 cloves garlic minced
1/2 cup corn (cut off the cob of a fresh ear)
1/3 cup chopped tomato
1/3 cup canned black beans, rinsed and drained
Salt and pepper
2 tbs grated parmesean cheese
2 tbs chopped fresh parsley

Preparation
Preheat oven to 425 degrees. Wash and dry the zucchini and then cut in half lengthwise. Using a  spoon, scoop out and discard the seeds and surrounding pulp. Place the prepared zucchini shells, cut sides up, in a shallow baking pan. If they are not sitting flat, you can use a vegetable peeler to take a strip of two off the uncut side to create a flat surface.


In a large skillet heat oil over medium heat then add the jalapeno and onion and cook until tender, about 5 minutes. Add the garlic, corn, tomato and black beans and continue to cook for 3-5 minutes until everything is heated through. Season to taste with salt and pepper to taste then remove from the heat and stir in the parsley. Spoon the bean mixture evenly among the four zucchini halves then sprinkle with the cheese. Bake, uncovered, about 20 minutes or until zucchini is cooked through and the cheese has started to brown. Serve immediately.


Thursday, July 25, 2013

Herb Roasted Pork Tenderloin

So here I am in the middle of summer, cooking meat in the oven while my grill sits idle on the patio. I’ll admit, it does feel a bit wrong, but for weeknights when I need to get dinner on the table in a minimum of time, being able to skip that bit of extra effort to prep the grill is worth it. Also, popping the meat in the oven with a remote thermometer to watch over it gives me the freedom to do other things instead of hovering over the grill while drinking a beer….wait, wasn't I trying to convince myself that I shouldn't be grilling? Anyway, pork tenderloin is one of my favorite cuts of meat because it is quite versatile when it comes to trying different seasonings or preparations, and also makes for great leftovers. Perhaps second only to leftover Thanksgiving turkey, a few thin slices of cold tenderloin makes a great foundation for a sandwich. Tenderloin is a perfect cut of pork for a fast weeknight meal because it is naturally tender (duh) and flavorful, so a time consuming dip in brine prior to cooking is not necessary like it often can be for pork chops. Tenderloins also tend to be small (around 1 lb each) so they can be cooked quickly in the oven using high heat (quick cooking also prevents it from drying out). Lastly, by using a breadcrumb coating you can get an appealing brown color to the crust in the oven, therefore skipping the need to sear the meat in advance (one less pot to clean!). Try to use panko breadcrumbs if you can as they brown much faster and will give your coating a little crunch. 


The past 12 weeks have seen quite a nice herb garden develop in my backyard as each weekly share adds another plant to the mix. At this point I have basil, parsley, thyme, mint, dill, rosemary, oregano, lavender, stevia, chives and tarragon planted, and in some cases growing quite large! I've been snipping small sprigs here and there, but for the most part I've avoided cutting too aggressively to ensure that the plants have time to get established. It seems that plan worked pretty well, and now its time to start harvesting!


Share Contents Used
Thyme (week 8)
Rosemary (week 7)
Sage (week 11)

Ingredients
1 lb pork tenderloin
1 tbs Dijon mustard
1/3 cup panko bread crumbs
1/2 tbs chopped fresh rosemary
1 tbs chopped fresh chives
1/2 tbs chopped fresh thyme
1 tsp chopped fresh sage
2 cloves garlic, minced
1 tbs olive oil
Salt and pepper

Preparation
Heat your oven to 425 degrees. In a small bowl, mix together the bread crumbs, herbs, garlic and oil along with a 1/4 tsp each of salt and pepper. Set aside. Trim the tenderloin of any excess fat then season the tenderloin on all sides with salt and pepper before placing in a shallow baking dish or roasting pan. Using your hands, evenly cover the tenderloin with mustard and then top with the breadcrumb mixture, pressing lightly to ensure the mixture sticks to the mustard. Roast uncovered in the oven for 20-30 minutes or until the breadcrumbs are browned and the internal temperature of the pork is at least 145 degrees. Use a meat thermometer to be sure and try not to let it go much higher as the temperature will continue to rise during the rest period. Remove from the oven, cover with foil and let rest for 5-10 minutes before slicing.

Served up with some mashed sweet potatoes and a veggie stuffed zucchini (the recipe for which I will post separately as it more than deserves its own spotlight) to round out the plate.


Wednesday, July 24, 2013

Week 12 Share


Lots of sweet corn this week and with them comes the challenge of using it before age turns the kernels all starchy. The newsletter that comes with each share included a tip on how to prevent the loss of the corn’s sweetness by freezing kernels before they get too old. To do this, you need to shuck the corn and then blanch it in boiling water for 5-6 minutes. The cooking will deactivate the natural enzymes in the corn that change the sugars into starch. Immediately transfer the corn from the boiling water to an ice bath to stop the cooking. Once cool, dry the corn and then cut the kernels off the cobs. Pack the loose kernels into freezer bags and remove as much air as possible before freezing. Once frozen, the corn should keep for up to a year depending on how airtight your bag is. 

Hot peppers, 1.5 oz ($0.20)
Basil, 1 bunch ($1.99)
Peaches, 2.5 lbs ($4.98)
Blueberries, 2 pints ($5.00)
Tarragon plant ($2.99)
Corn, 8 ears ($4.80)
Cucumber, 2 lb 5 oz ($2.64)
Pattypan squash, 27 oz ($3.35)
Yellow squash, 1 lb 5 oz ($1.95)
Green beans, 8 oz ($0.85)

Total Share Value = $28.66

These here are the pattypan squash. Nice little single servings that I’m told taste pretty much just like yellow squash. The shape and color certainly makes a nice presentation, so I may try stuffing them so they can be served intact.

Monday, July 22, 2013

Cauliflower Jalapeno "Rice"

It’s hard for me to imagine how people came up with new recipe ideas before the internet. I suppose it was a combination of word of mouth and flipping through cookbooks, and while those methods certainly are still useful today, I for one would have a much less varied repertoire if not for Google. The best is when I have an ingredient that needs to be used; the cauliflower from week 10 in this case, but no idea what I want to do with it. In this case I added one item from week 11 to see what came up. Cauliflower + jalapeno then scroll through the results until something catches my eye, and catch it this one did! Let me tell you, after one bite of this cauliflower rice it immediately became my (and my wife's) favorite way of cooking cauliflower. The texture of the final dish is surprisingly similar to actual rice, but with added flavor of the cauliflower, which really reacts well to letting it brown and crisp up a bit on the bottom of the pan. Combine that with the added nutrients that cauliflower has (compared to pretty much nothing for white rice) and welcome to the regular rotation! The next step will be getting our daughter to eat it, which will be much easier if I make a batch isn't full of jalapeno...

Adapted from The Roasted Root.

Share Contents Used
Cauliflower
Jalapeno


Ingredients
1 head cauliflower, grated
1/4 cup minced shallot
1 jalapeno, seeded and finely chopped
1 tbs fresh ginger, grated
1 tsp olive oil
3/4 cup canned coconut milk
1/2 tsp ground cumin
Salt and pepper


Preparation
Remove any leaves from the cauliflower then chop it into quarters. Using a box grater or the shredding disk on your food processor, grate all of the cauliflower. In a large skillet, heat the oil over medium heat and then add the shallot and jalapeno. Saute for 3-4 minutes until the shallot is starting to brown. Add coconut milk, ginger and cumin and stir until the mixture comes to a boil. Add the cauliflower and mix to combine. Turn the heat up to medium high and cook, stirring occasionally until the cauliflower starts to brown in spots. Don't be afraid to let a little crust form, you'll be rewarded with great flavor! Season to taste with salt and pepper then serve immediately as a side to any dish you would normally use rice with, you will be surprised how similar it is in texture and flavor.


Friday, July 19, 2013

Homemade Sour Dill Pickles

My local farmer's market (which I'll admit I spend much less time at now that I get most of my produce from a CSA) has a pickle vendor that's been there for years. They sell all manner of pickled vegetables as well as olives, all made from scratch in their local pickle factory (factory?...now I can't help but picture a Willie Wonka style building with rivers of brine flowing through it. Weird) Anyway, I had never bought anything from this vendor until a month or so ago when my wife and I were chatting with a friend we bumped into that was in line to buy pickles and we ended up trying a couple samples. 


Wow! Instantly I was hooked. What an amazing difference between these fresh, homemade pickles and the name brand pickles I've been eating forever (you know the ones, with the goofy Groucho Marx impersonating stork). I bought some to take home, but they were not cheap and I knew that if I was to enjoy fresh pickles on a regular basis then I better start making my own. The pickled scallions I made a while back worked out very well, so I was confident that I could start churning out fantastic pickles in no time! Of course, I then promptly forgot all about it until last week when my wife emailed me a link to an article in the New York Times that described a method to make basic sour pickles in only a few days with a minimum of work and ingredients. The stars completed their alignment when my week 11 share included a trio of plump pickling cucumbers. To the pickle factory!  Oompa loompa doopity doo.....

Adapted from the New York Times.

Share contents used
Pickling cucumbers

Ingredients
1 pound freshly picked pickling cucumbers
1 clove garlic, sliced thin
3 sprigs fresh dill
2 tablespoons kosher salt


Preparation
Bring two cups of water to a boil and add the salt, stirring until completely dissolved.  Remove from the heat and add two cups of ice then stir until the ice melts and the brine has cooled to at least room temperature. While the brine cools, clean the cucumbers well then slice a little off each end. Cut cucumbers into spears. You can also leave them whole or slice them into chips as well.  Whatever you prefer. Place the cucumbers into one or two clean glass jars along with the garlic and dill sprigs. Pour the cooled brine into the jar(s), covering the cucumbers completely. Discard any remaining brine. Loosely cap jars and place in a bowl on your counter to catch any leaks during fermentation. Fermentation should start within 24 hours and the brine will turn cloudy and start making bubbles. During this time, the garlic may turn a greenish color but don't worry as that is just the way it reacts to the brine and it will not harm you or the pickles. Let sit on the counter for 2 days before tasting. If you want them to be more sour, leave them for another 1-2 days. When you are happy with the taste, place in the refrigerator to stop the fermentation. They should keep for up to a month in the refrigerator.


July 21 - Update on the results. The picture below is how the jar looked after about 20 hours, and after two days the pickles were sour enough for my taste. I discovered that this recipe does not result in pickles that are very crunchy, in fact they were a bit too soft for me even though the flavor was very nice; slightly sour with a hint of dill and garlic. Seems that soft pickles is what you get using this fermentation method and to get crisp pickles, a more involved process is required involving hot pickling brine and actual canning equipment. Maybe a bit too involved for me, but we'll see... There's a nice article on npr.com that talks about how to make crisp pickles with several links to other resources as well.


Wednesday, July 17, 2013

Zucchini Fritters

Mid July and the zucchinis have started their annual campaign to take over the world. I still had a couple left from the week 10 share and then the week 11 arrives with bonus extra zucchini! And I thought I could avoid the zucchini stampede by not planting any in my garden...silly Ben. Anyway, it is what it is and to keep up with the influx I need recipes that use up a lot of zucchini at once, so my thoughts on the topic quickly turned to fritters. 


Once you shred the zucchini and remove the excess water (more on that below), a pound of them will yield only 7-8 small fritters, so if you are cooking for a group you can easily use up a couple pounds of zucchini. They also freeze well, up to 3 months if well wrapped, so double or triple the recipe and you'll be set with a quick snack or side dish for weeks. Just pop them in a 350 degree oven for 8-10 minutes or until they are heated through and crisp.

The recipe I used below is from smitten kitchen.

Share contents used
Zucchini (I had yellow ones, they taste the same as the green)


Ingredients
1 pound zucchini, shredded
1 tsp kosher salt
2 scallions, sliced thin
1 egg, lightly beaten
1/2 cup flour
1/2 tsp baking powder
Salt and pepper to taste
Oil for frying (I used olive oil)

Preparation
Heat your oven to 200 degrees and place a sheet pan inside. Wash the zucchini and trim off the ends. Using the shredding disk in your food processor or the coarse side of a box grater, shred the zucchini. 


Place the shreds in a colander and mix with the kosher salt, then set the colander over a bowl for 10-15 minutes to allow the salt to draw out some of the excess water. Transfer the zucchini to a clean tea towel then roll up the towel, trapping the zucchini inside. Over your sink, wring the towel as hard as you can to squeeze out more water. You'll be amazed how much will come out (zucchini is mostly made up of water) and this is essential to good fritters because if you skip this step the final result will be very mushy and not as flavorful. 


Remove the zucchini from the towel and place in a clean bowl with the scallions then season to taste with salt (go easy as there will be salt remaining from the water removal) and pepper. Mix in the egg, then combine the flour and baking powder, add to the zucchini and mix well. Heat the oil over medium heat in large, heavy skillet until it starts to shimmer. Place 3 or 4 dollops of the zucchini mixture in the pan and flatten them slightly to form rough disks around 3 inches in diameter.


Cook for 3-4 minutes until nicely browned then flip and cook for another 3-4 minutes. Move to a sheet pan in the warm oven while you cook the rest of the fritters. Serve hot with your choice of dipping sauce.  I mixed some sour cream with salt, pepper and a bit of lemon juice for a cool, tangy accompaniment. Use your imagination as the fritters will go well with spicy or sweet sauces also. 


Tuesday, July 16, 2013

Week 11 Share


Zucchini, 4 lb 7 oz ($5.80)
Jalapeños, 4 oz ($0.50)
Pickling cucumbers, 13 oz ($1.61)
Snow peas, 9 oz ($1.68)
Red leaf lettuce, 4 oz ($0.37)
Romaine lettuce, 1 lb ($0.99)
Corn, 4 ears ($1.32)
Onions, 1 lb 8 oz ($1.33)
Sage plant ($2.99)
Blueberries, 2 pt ($5.00)
Carrots, 1 bunch ($2.00)

Total share value = $23.59

So it seems that the annual zucchini invasion has begun.  This week's share included bonus zucchinis, so clearly the farm has plenty to spare.  I'm very excited to see the pickling cucumbers and will definitely be making pickles, especially after the success I had with the rakkyo back in May. I bought some really great fresh pickles at the local farmers market a couple weeks ago and will probably try to duplicate them. I also love the little carrots we got.  I've always been a fan of more unique varieties of carrots such as these little yellow beauties. They caught the eye of my daughter as well, so I'm guessing that you will not see these in a recipe as there is no way I'll deny a 3 year old that is asking to eat them raw.


Monday, July 15, 2013

Mango Salsa


Because everybody likes to say salsa! More importantly, everyone likes to EAT salsa, everyone I know at any rate.  Personally, my favorite salsas have a sweet element to them and when shopping for a jar I tend to look for a mango or pineapple variety. Since I was looking for a way to use the fresh onion in my last share and mangoes are plentiful at the store lately, it seemed that the time was right to come up with my own recipe for mango salsa. The ingredients here are all pretty standard for salsa.  The red and yellow bell pepper I had on hand, but you can use any color, though I suggest that no more than half the pepper be green. I used a Serrano chili as I am a bit of a wimp with spicy salsa, but if you prefer more spice go for jalapeno or habanero if you dare!

Those of you who have ever tried to peed and chop a mango know how slippery they can be. A trick I've learned to help hang on is to stick a corn holder into one end of the mango.  That way you always have a easy to hold handle that will make peeling and cutting the flesh off the pit much easier. And as a bonus, you can hold it like a popsicle and eat any remaining fruit right off the pit!

Share Contents Used
White onion
Tomato

Ingredients
1 ripe mango, peeled and diced
1 cup Diced bell pepper
1/2 cup Minced white onion
1 small Serrano or jalapeño pepper, minced
3/4 cup fresh tomato, diced
1 clove garlic, minced
Fresh lime or lemon juice to taste

Preparation
Combine everything in a bowl and allow it to sit for at least 30 minutes for the flavors to meld.


Sunday, July 14, 2013

Sesame Garlic Snow Peas

You may recall that the share I received two weeks ago contained some sugar snap peas, and you may have also noticed that they have not shown up in a recipe. The reason, unfortunately is that the result of what I cooked with them was not very good. Seeing as that there is the possibility that some of you might try one of these recipes yourself, I only post things that were enjoyed by myself and at least one other person (usually my wife, because if my 3 year old got a vote there might never be anything posted). The post mortem of that dish revealed that I went wrong by letting the peas sit in the fridge for nearly a week before using. Certainly one of the benefits of CSA membership is how fresh everything is, and therefore items will last much longer.  I've had heads of CSA lettuce age over a week and still be green and crisp (ever seen grocery store lettuce after a week? Yuck!). Anyway, peas such as the snap and snow varieties are so yummy because of their high sugar content, but those sugars will start converting to starches as soon as the pea is picked, so fast use is a must. Armed with that knowledge, when week 10 brought a bag of snow peas I was ready to get them on our plates without delay with a quick and easy recipe adapted from one I found at simply recipes.


Share Contents Used
Snow peas
Mint

Ingredients
1/2 pound fresh snow peas
1 clove garlic, minced
1 teaspoon sesame oil
5 mint leaves, chopped fine

Preparation
Wash the snow peas then trim the tips and remove their fibrous string. Cut any large peas in half.  Heat sesame oil in a large skillet on medium high heat. Add the snow peas and garlic. Stir to coat with the oil. Cook for 1-2 minutes, being careful not to overcook. They should remain a bit crunchy.  Remove from heat. Stir in the chopped mint leaves and season taste with salt. Serve immediately.

Thursday, July 11, 2013

Week 10 Share

Blueberries, 2 pints ($4.32)
Snow Peas, 7 oz ($2.18)
Cauliflower, 2lbs ($3.99)
Summer Squash, 2 lb 6oz ($4.90)
Mint, 1 bunch ($1.99)
Kale, 6 oz ($0.48)
Onions, 1 lb 10 oz ($1.60)
Tomato, 7 oz ($0.98)
Green Leaf Lettuce, 13 oz ($1.21)
Boston Lettuce, 14 oz ($0.99)
Lavender Plant ($2.99)

Total share value = $25.63

A nice pile of squash this week, four yellow zucchini and one yellow squash.  Clearly the fields at the farm are starting to get busy and I expect that we'll be receiving squash for the next few weeks.  Going to require a bit of creativity to avoid getting tired of them.  Zucchini fritters anyone?  I'm also looking forward to making use of the fresh onions.  Very curious to see how the flavor compares to the grocery store onions that have been sitting around for who knows how long.  Thinking a fresh salsa might be in order...stay tuned!

Wednesday, July 10, 2013

Gnocchi with Summer Squash and Fresh Tomato

True to my Italian roots (well, half of my roots anyway) one of the first recipes that I developed for myself as I became more interested in cooking was homemade marinara. I've been using that basic recipe for a few years now and am proud that I can’t remember the last time I bought a jar of sauce. That recipe (used here as part of a lasagna I made a little while back) holds true to the common image of a pot of sauce bubbling on the back burner for hours as the tomato, onion, garlic, basil and whatever else was in grandma’s secret recipe melds together into a thick, dark red sauce that covers the entire house with an aroma which upon smelling you immediately have to grab the nearest chunk of bread and dunk it in the pot.

Summer, however brings with it a wonderful bounty of fresh tomatoes and the opportunity to create a very different type of tomato sauce. With minimal effort, a ripe tomato fresh off the vine can be reduced down to a light yet flavorful sauce with wholly different characteristics from marinara. For this dish I started with a basic fresh tomato sauce as a base and then added the squash for another layer of flavor. I used the little round squashes from the week 9 share, but regular zucchini or yellow squash will work just as well. Gnocchi is a nice alternative to pasta with plenty of very good packaged varieties available, it can be a great way to change things up on a pasta night.


Share Contents Used
Summer Squash
Tomato
Parsley

Ingredients
3/4 lb summer squash, chopped into a half inch dice
1 lb fresh tomato
1/4 cup shallot, chopped fine
1 tbs olive oil
1 tbs butter
1/4 tsp crushed red pepper flakes
1 tbs parsley, minced
1 lb package of gnocchi
2 tbs grated Parmesan
Salt and pepper

Preparation
Bring a large pot of water to a boil.  Take the tomato(s) and cut a shallow cross through the skin on the bottom, then place in the boiling water for 1 minute.  Remove from the water and immediately place in a bowl of ice water to cool. Return the water to a boil and cook the gnocchi per package directions. While the gnocchi is cooking, heat the olive oil in a large saute pan then add the shallot and cook until soft, about 3 minutes.  Remove the tomato from the cold water, peel off and discard the skin then remove the core and coarsely chop.  Add the chopped tomato to the pan along with the crushed red pepper and cook, stirring occasionally until the tomato has started to break down and form a sauce, about 5 minutes. Add the squash and butter and stir until the butter is melted. Cover the pan and cook over low heat until the squash is soft, 3-5 minutes.  Uncover and stir in the parsley and Parmesan then season with salt and pepper.  Add the cooked gnocchi and stir to coat.  Serve immediately with more Parmesan on the side.

Tuesday, July 9, 2013

Simple Coleslaw

There is the promise of coleslaw, crunchy and creamy, and then there is the all to common reality of limp, soggy cabbage in a watery dressing. What is it about this simple recipe that can go so wrong? In a word; water. Cabbage is full of water and the dressing will slowly draw that moisture out of the shredded leaves until your slaw is more of a cabbage soup. Yuck! The best way to deal with this is to remove the excess water from the cabbage before dressing it by salting the shredded leaves and allowing time for the salt to draw out the water.  Its a little extra work, but you will be rewarded with a much more appealing result and the leftovers (if any...yeah its that good) will keep much longer as well.


Share Contents Used
Cabbage

Ingredients
6 cups shredded green cabbage
2 tbs grated onion
1 small carrot, peeled and shredded
1 tsp salt
2 tbs sour cream
1/4 cup mayonnaise
1.5 tsp white vinegar
1 tsp sugar
1/8 tsp pepper

Preparation
Place the shredded cabbage, onion and carrot in a colander and sprinkle with the salt.  Mix a few times to distribute the salt evenly and then set the colander over a bowl and let sit for 1 hour.  The salt will draw excess water out of the vegetables.  When the hour is up, discard the water and then rinse the salt off of the shredded veggies with fresh water.  Allow to drain thoroughly and then dry by spreading the shredded vegetables on one or two tea towels, then roll the towels up and squeeze to wring out as much moisture as you can.  In a small bowl, mix the sour cream, mayo, vinegar, sugar and pepper. Return the vegetables to a clean bowl and then toss with the mayo mixture. If the slaw seems too dry (which can happen depending on how aggressively you wrung out the tea towel) add a bit of fresh water back in and mix. Or, if you have some handy, try using pickle juice. I used juice from some sweet bread and butter chips for this batch and it added a great level of flavor. Just go slow with the additions and taste often lest your slaw ends up tasting more like relish.

Sunday, July 7, 2013

Roasted Romanesco Broccoli with Olives and Chickpeas

"So, what should we do with our (insert vegetable here) tonight?  How about roasting them?  That's a good idea, I'll just toss them with some olive oil, salt and pepper and......zzzzzzzzzzzzzzzzz"

Sound familiar? Yeah, I know...the roasting rut.  While you can't beat roasting as a simple way to get great flavor out of most vegetables, it can get a little monotonous.  Salt, pepper, oil, maybe some garlic or a few herbs. Always a reliably good result, but I was looking for a way to change things up a bit and try some new flavors.  My weekly CSA share typically includes a flyer with a couple recipes and in this week's flyer had the inspiration I'd been waiting for.  Adding olives and chickpeas to the mix injects two strong and unique flavors to the dish that compliment the vegetables nicely.  A real winner that received a lot of compliments at the dinner party we brought it to. The recipe below was adapted from the one I received with the share.

A quick note about the romanesco broccoli.  It tastes pretty much exactly like cauliflower, so since it can be hard to find, you can simply double the cauliflower (maybe find a purple variety for a nice color contrast) or use regular broccoli, which would give you a little more taste variety.

Share Contents Used
Romanesco Broccoli
Cauliflower

Ingredients
1 lb romanesco broccoli
1 lb cauliflower
1/2 cup pitted kalamata olives, halved
4 garlic cloves, minced
1 14oz can of chickpeas, drained and rinsed
3 tbs olive oil
1/4 tsp crushed red pepper flakes
Salt and pepper to taste

Preparation
Preheat your oven to 425 degrees. Chop the romanesco broccoli and cauliflower into bite sized florets. Wash and drain well and then toss together in a large bowl with all the other ingredients. Transfer to a 9x15 baking dish and roast in the oven until the florets are tender and browned around the edges. About 30 minutes.